Thursday, July 31, 2014

Tiddly Inks Fab Friday and New Release


 It is Fab Friday on the Tiddly Inks Challenge Blog - eye candy from the Design Team. 
Also it is release day for new digi sets on the Tiddly Inks Blog

I used the new digi Fairy Friends. 
 I used this fun sentiment that just spoke to me.  I love the outline word "friendship", I just wanted to color it in.  

I colored my vellum sentiment on the backside with rainbow colors of Copic markers for this week's

I chose to feature my sentiment on a vellum banner
(sewn onto a white cardstock banner so I could pop it up for dimension) for the latest  


The rainbow designer paper ties in the rainbow theme under my vellum sentiment on the inside of my card. 

Supplies
Stamps: Fairy Friends (Tiddly Inks)  Paper:  Recollections White 110# (Michaels), Classic Kraft (Papertrey Ink) Vellum cardstock Ink:  Copics:  RV14, YR07, YR04, Y17, YG21, B01, V04 Accessories: thread, needle, paper piercer, piercing mat, clear 6mm sequin (Pretty Pink Posh), Scotch dimensional tape, Inkessential dimensional glaze 

Thank you for visiting. Enjoy your day. 

Monday, July 28, 2014

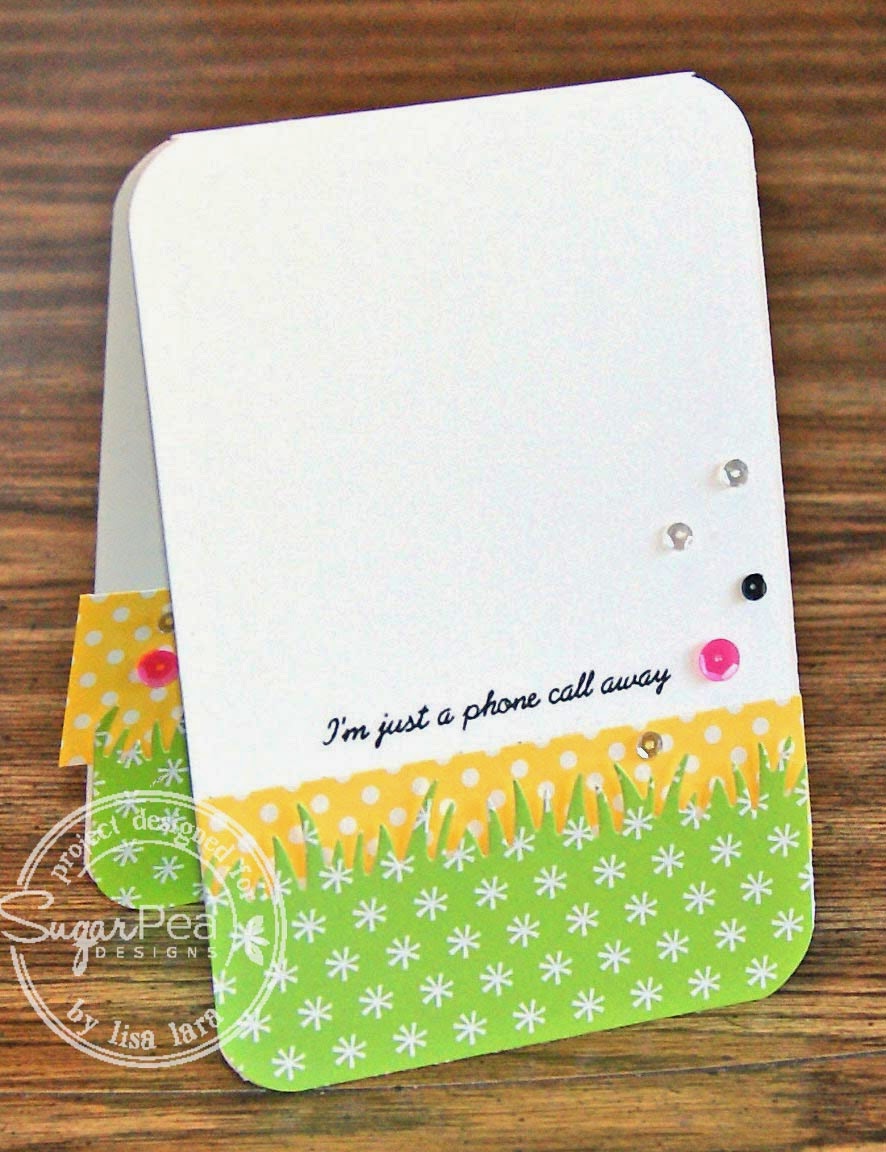
Hello, Friend - SPDSS08


Come play with us. 

This is also for this month's CASusal Friday's Challenge CFC134: Tic Tac Toe
I went diagonal - DOTS, WHITE, SEQUINS

And I am also playing in this week's Less Is More - Anything Goes Challenge

 I took the inside of the sketch and made it my entire card using my favorite SPD stamp 
 I just adore this set.  (Although I must say I find myself saying that about every SPD set.)  Also I flipped the sketch too.  

Here is how I tied in the front of the card to the inside.   
I love putting sequins on the inside as well. 

Supplies
Stamps: Tin Can Chat (SugarPea Designs)  Paper: Recollections White 110# (Michaels), Plus One (Amy Tangerine), Summer Bliss (Echo Park) Ink:  Tuxedo Black (Memento), Versafine Onyx Black, Copics: YR23, Y17, Y21, E000, E00, E11, R20,  Accessories:  Sequins (Pretty Pink Posh), Scotch dimensional tape, Licorice Divine Twine 


Play along with any stamp you like - but if you use SugarPea Designs, we'll top your voucher up to $15!
Feel free to rotate/flip the sketch, or exchange any shapes for what works with your design, just make sure the sketch is recognizable!
Combine our sketch with any other challenge(s) (except another sketch!)
Upload to your blog or other online gallery using keyword: SPDSS08 so that we may check out your beautiful work
Add your link to the linkup on the SugarPea Blog. You'll find our current challenges on the sidebar.


Thank you for visiting. Enjoy your day!

Saturday, July 26, 2014

Striking Up Some Fun With SugarPea Designs

 I am playing with one of the new stamp sets from SugarPea Designs.

Isn't it the cutest!  
And so many possibilities!

 When I first saw this set, this is the idea that came to my mind. 
Today was the day to make it happen.  A CAS Masculine birthday card in my stash!

Here is how I did the inside to tie it in with the front.  
Ever notice when you show your cards to someone they always open the inside to see what's in there.  
I always left my blank..............until now, I feel the inside finishes of the card when it ties in to the front. 
These cute sentiments made it easy.  I stamped the pins with the same color as my base.  Don't you think that little bit of red just finishes it off? 

Supplies
Stamps: Spare Me (SugarPea Designs)  Paper:  Classic Kraft (Papertrey Ink), Neenah Solar White 80# Ink:  Lady Bug, Tuxedo Black (Memento), Classic Kraft Dye Ink (Papertrey Ink), Copics: R22, R24, R29, N0, N4, N7, N10  Accessories: Scotch dimensional tape

Wanna win a SugarPea Designs Gift Certificate? 
Come play in the current theme challenge with us.  Get all the details HERE

Thank You for visiting. Enjoy Your Day!

Friday, July 25, 2014

IHP Hello's


Ready for some BRIGHT inspiration?
I used products from i {heart} papers to make this fun set.
Also I played in today's Free For All Challenge on Splitcoaststampers- I've Got Your Back (to use stamps to make your background)
Bright colors are my love. 
I had so much fun making these 3x3's.  I had to make myself a set of these to have on hand for adding to packages or a plate of cookies. 
 
I used the following products, all from i{heart}papers.com, my favorite online store


Speech Bubble Border Die - Lawn Fawn
 
I stamped the entire 3x3
of my white cardstock using an ink splat from the set using a rainbow of Memento inks.
 

I made a mask when die cutting
using the bubble die to get a uniform size for my set of cards.
 

I stamped the sentiments on each piece,
 using both, for the front and inside. The "hello" I heat embossed.
 

The front of the cards are all the same,
 but the insides were all different sentiments.
 

I added dimensionals to the front of the card,
I use them heavily to keep the panel from sagging.
 

I did not use dimensionals on the insides.
 

I used my Envelope Punch Board by Memory Keepers
to make envelopes that I matched by stamping on the outside flap.
 
Supplies:
Stamps: Ink Splats (W Plus 9), Say It - Hello (Technique Tuesday) Paper: Recollections White 110#(Michaels), Canyon Clay, Raspberry Fizz, Harvest Gold, Simply Chartreuse, Ocean Tides, Royal Velvet (Papertrey Ink) Ink: Rose Bud, Tangelo, Dandelion, Tuxedo Black, Summer Sky, LuLu Lavender, New Sprout (Memento)  Accessories:Sticky Thumb Dimensionals (We R Memory Keepers), Speech Bubble Die (Lawn Fawn), Corner Chomper (We R Memory Keepers), Envelope Punch Board (We R Memory Keepers)
 
Thank you for visiting.  Enjoy your day.

Wednesday, July 23, 2014

SPD - What's Mew?


I just love SugarPea Designs images. They make me smile.  
Wanna know how you can win a SPD GC?
It's Challenge time.........SPD07 You're So Punny...........Bring on your Punny. 

 For my punny themed card I chose to use the SPD stamp set What's Mew
Wendy made it easy to be Punny with this cute sentiment and kitty.   I played off the sentiment by coloring only the kitty. I wanted to make my card a house shape and this is what I came up with.  I cut strips, embossed them and popped them up for a little dimension, texture and interest.  Plus I folded the shutters in just a little for more interest. 

This card is also for 
My kitty acts as the butterfly in the sketch and the shutters are for the filigrees.
Fun sketch.  There is still a little time to play, you should come play. 

 I think doing the inside of the card finishes it off nicely, so I just stamped the image in the 
matching ink to my base paper.  Just what it needed. 


Be sure to check out the inspiration from the SugarPeas  on the SugarPea Designs Blog

Tuesday, July 22, 2014

MINI Envelope Gift Card Tags

 Wanna win a Tiddly Inks GC?
Ink up your favorite Tiddly Inks image and play with us.......challenge #137 is up
 For my tiny creation, I made an envelope gift card tag.
 I used these adorable images in the digi Inky Critters.
I colored select areas using the simple one marker Copic coloring Technique.  I popped up just the scarves and used stickles and dimensional glaze on all colored areas. 
 This is one of my new Favorite Toys.  I just love this thing................the 
Envelope Punch Board by We R Memory Keepers
You have got to try it.....you can make finished envelopes of many sizes with this fabulous tool. 
I made up my envelope for a 3x3 card by did not score one side as I left it unfolded for my tag.
Here they are before I put my images and silver cord on them. 

Supplies
Stamps: Inky Critters Digital Image (Tiddly Inks)  Paper:  Classic Kraft (Papertrey Ink), Neenah Solar White 80# Ink:  Printer, Copics: B00, YG21, E31, Y02 Accessories: Stickles Icicles, Silver Cord, Dimensional Glaze (Inkessentials), Scotch Foam Tape, Score Tape Techniques: Mini Envelope Gift Card Tags

Thank you for visiting. Enjoy your day!
01 09 10